Fed up with sky-high water bills? You’re at the right spot! With some handy work, you can set up an in-ground sprinkler system on your own, shaving off a substantial amount from your expenses.
We’ll guide you through outlining your plan and setting up the parts. Soon, you’ll finish this DIY project and see your savings grow.
Ready to save money on a DIY In-Ground sprinkler system installation?
Table of Contents
Planning Your Lawn Sprinkler Design
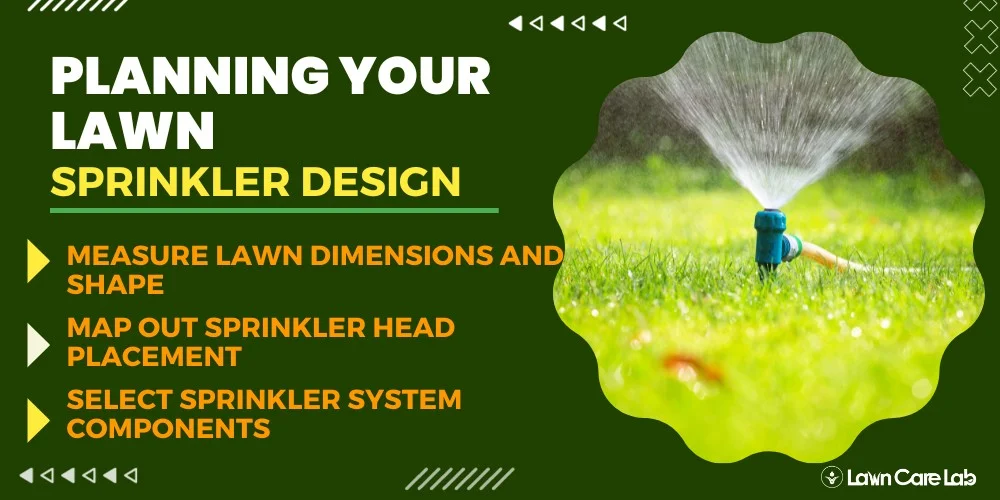
Measure your yard accurately, strategize sprinkler head placement for optimal reach, and choose quality components like pipes, valves, and a timer for an efficient and long-lasting sprinkler system.
Measure Lawn Dimensions and Shape
Measure your lawn carefully before planning your sprinkler system. Include any oddities like flower beds or landscape features. A DIY measurement with a tape measure can be just as good as a pro’s.
Positioning your sprinkler heads correctly is crucial for optimal water coverage. Consider using a tape measure or sketching out your lawn on paper to make the job easier.
Measuring your lawn accurately is a crucial first step towards a cost-effective DIY sprinkler system.
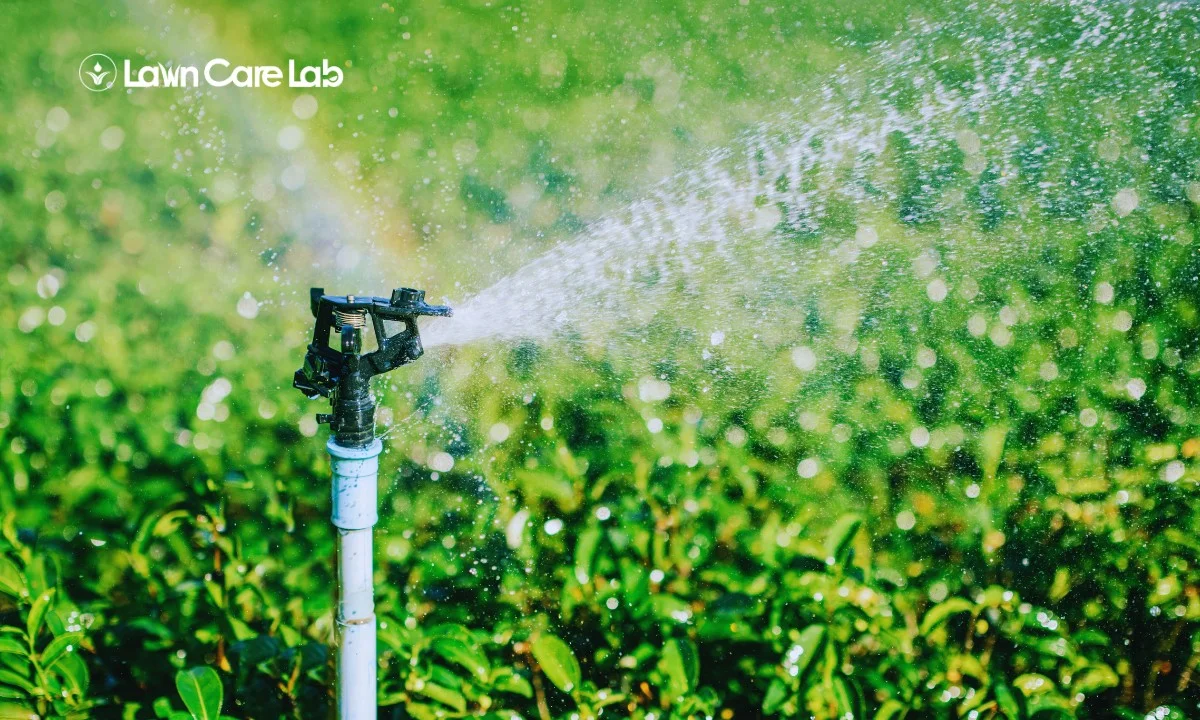
Map Out Sprinkler Head Placement
Plotting out the location of your sprinkler heads is key to ensuring optimal water coverage and avoiding common sprinkler issues.
When laying out your plan, think about the following:
- Pick the best sprinkler heads based on your lawn’s diverse needs.
- Tweak the angles of the sprinkler heads to guarantee complete coverage, and avoid areas that are too wet or too dry.
- Consider using smart tech to give you more control and boost efficiency.
- Design your sprinkler head layout in a grid, making necessary adjustments for unique areas like slopes.
Getting it right from the start can save time and money down the line.
Next, we’ll discuss choosing the pieces for your sprinkler system.
Select Sprinkler System Components
Choose the right sprinkler heads and valves based on water pressure and distribution needs. Use automatic timers for your sprinklers to schedule when they turn on and off.
Here’s a quick guide:
| Component | What to Consider |
|---|---|
| Sprinkler Head | Type and water pressure |
| Valve | Choice and efficiency |
| Timer | Automation and scheduling |
Just remember, a well-thought-out and well-implemented sprinkler system can save you time and money, all while keeping your lawn looking lush and vibrant.
Preparing the Installation Site
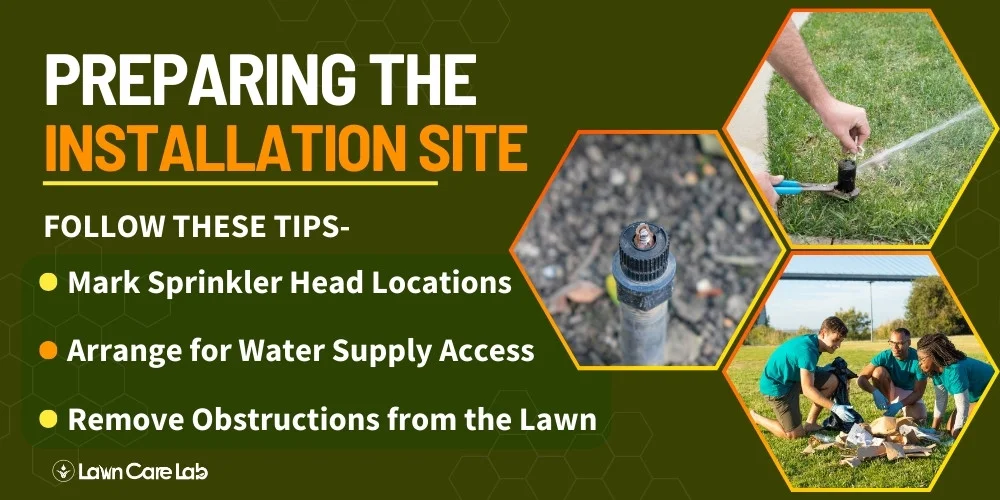
Before diving in, it’s essential to get your lawn ready.
Start by designating your sprinkler head positions with spray paint or flags.
Make sure you have convenient water accessibility.
Lastly, get rid of any obstacles, such as rocks and roots, from your lawn.
Mark Sprinkler Head Locations
Identify sprinkler head positions and choose nozzle types accordingly to avoid uneven watering.
Here’s some advice you might find useful:
- Alter the water pressure based on the requirements of the outlined areas.
- Pick nozzle types that are suitable for the soil and plants in the identified zones.
- Always keep the marked areas clean to avoid system blockages.
- Keep a record of your marked locations for future maintenance.
Let’s sort out how to get water to your identified sprinkler spots.
Arrange for Water Supply Access
First things first, Obtain permits for your sprinkler system, as regulations vary by location.
You’ll need specialized plumbing tools for bigger setups; call a professional if unsure.
Getting the water pressure just right is important – too much can wreck your system, and too little won’t cover enough ground.
After everything’s hooked up, check for any leaks; even the tiny ones can cause problems down the line.
Getting everything right from the start will save you hassle and money in the long run.
Remove Obstructions from the Lawn
Clear out any obstacles that could get in the way of installing your sprinkler system. It’ll make the process smoother and avoid any potential hitches.
Firstly, Clear visible debris, rocks, and roots on the lawn. Uncover hidden obstacles and use a cable and pipe locator to avoid any damage to underground cables. Level the area for easier digging.
Following these steps will effectively clear your lawn of debris and obstacles, guaranteeing the rest of the process goes off without a hitch.
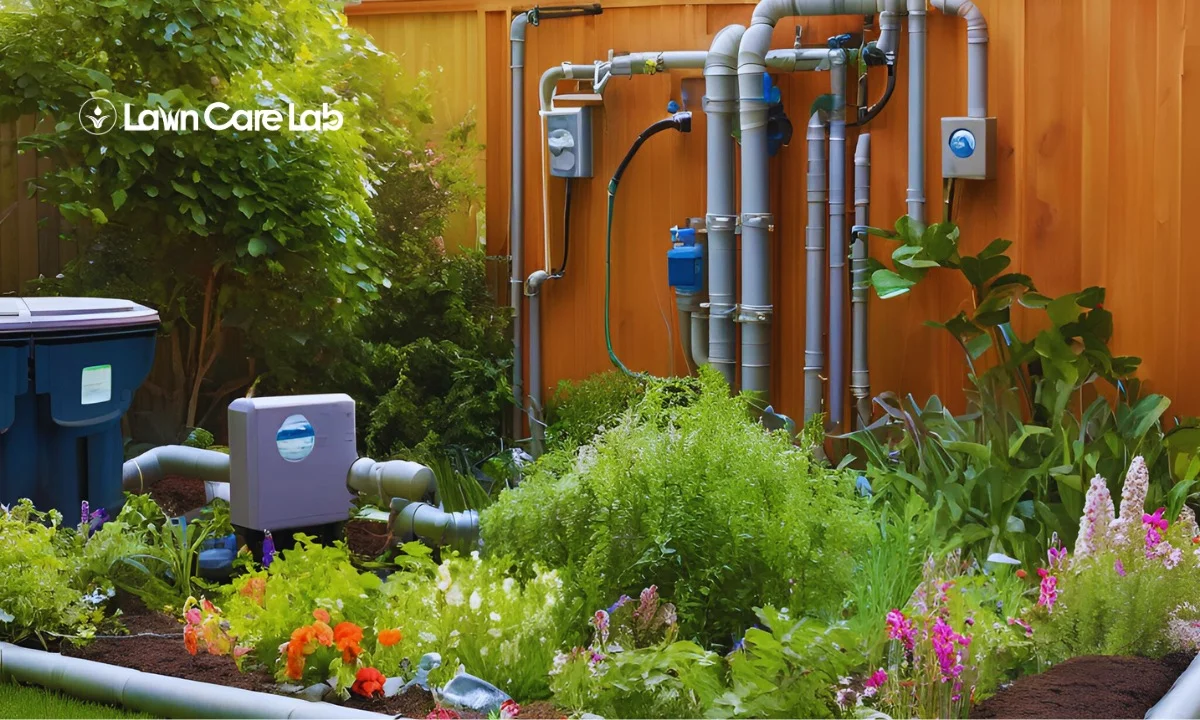
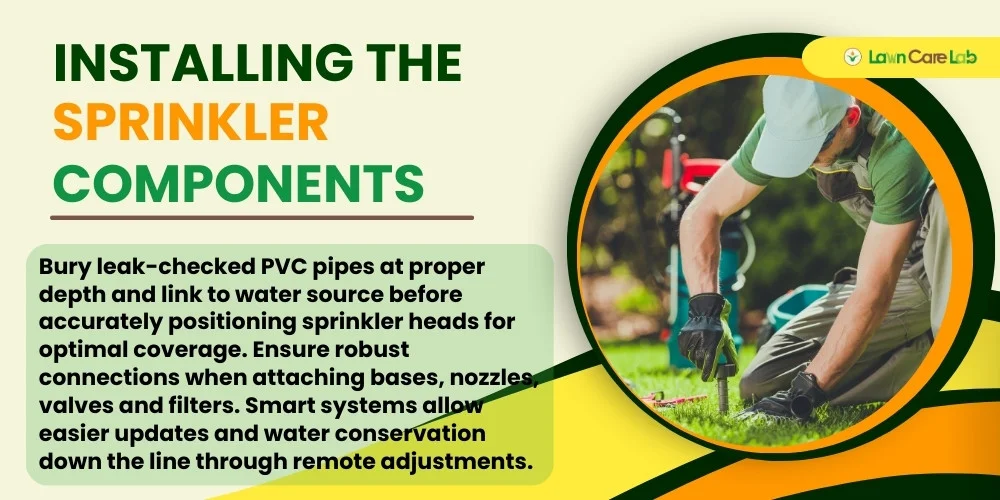
Installing the Sprinkler Components
Let’s dive into the real work – setting up the sprinkler parts.
Begin by aligning your pipes and linking them to the water source; ensure they’re tucked in deep enough.
Remember to accurately place your sprinkler tops and sprayers for the best water spread.
Lay Piping and Connect to Water
Use Poly or PVC pipes for uninterrupted water flow in your sprinkler system. Check for leaks by looking for dampness or unusual sounds. Professional installation is best, but DIY installation saves money.
Here’s some advice:
- Be smart about your pipe material selection, taking durability and system compatibility into account.
- Regular leak checks can help maintain the best water pressure.
- Weigh the benefits and drawbacks of DIY versus professional setup.
- Consider incorporating rainwater for a more environmentally friendly sprinkler system.
Bury Pipes at the Proper Depth
Proper pipe depth is crucial for sprinkler system durability and performance. Shallow pipes can be damaged, while deep pipes make installation difficult.
PVC pipes are a great option for this job as they’re resistant to rust and easy to handle.
Dig deep trenches free of sharp objects to avoid damaging sprinkler pipes during setup. Bury pipes below the frost line to prevent freezing in winter.
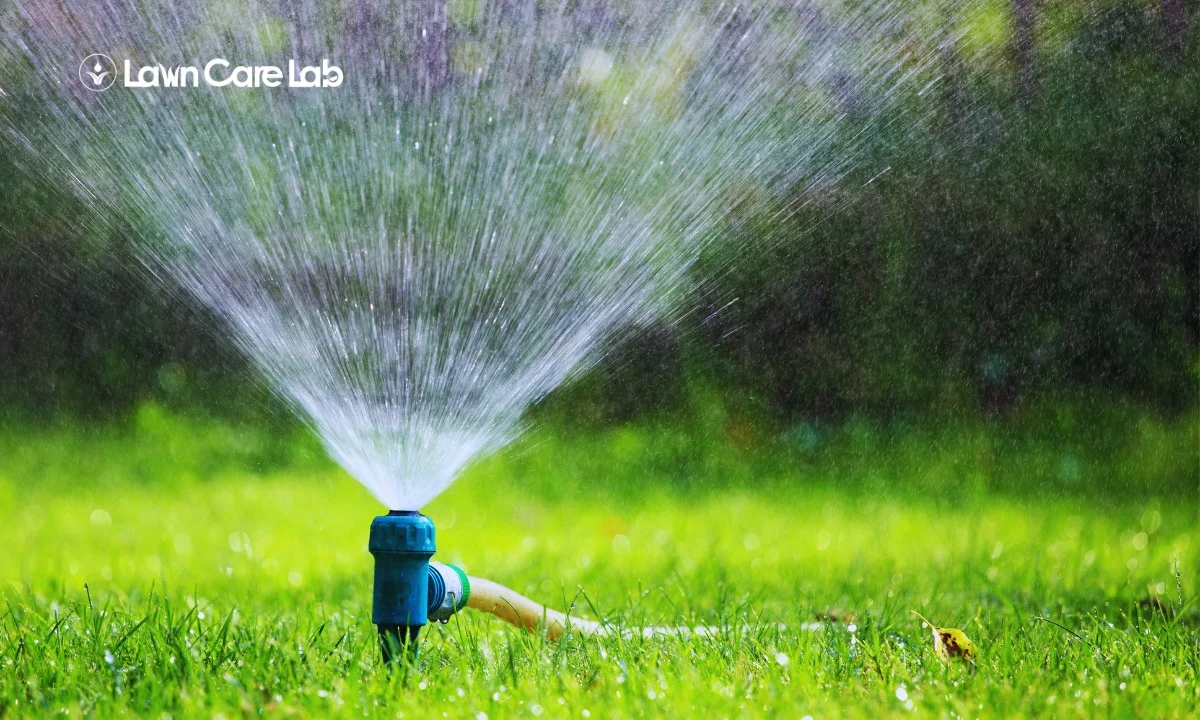
Install Sprinkler Heads and Nozzles
Attach sprinkler heads and nozzles after hiding pipes underground.
Here’s what you should do next:
- Install rotary or spray head bases at the designated spots.
- Ensure all connections are solid. Resort to pipe tape if needed.
- Follow the guide to install any additional valves or filters.
- Consider updating to a smart irrigation system for easier problem-solving and water conservation.
Completing the DIY in-ground sprinkler system installation
You’re nearly done with your homemade sprinkler system!
It’s vital to check every part to make sure it’s working as it should and adjust as needed.
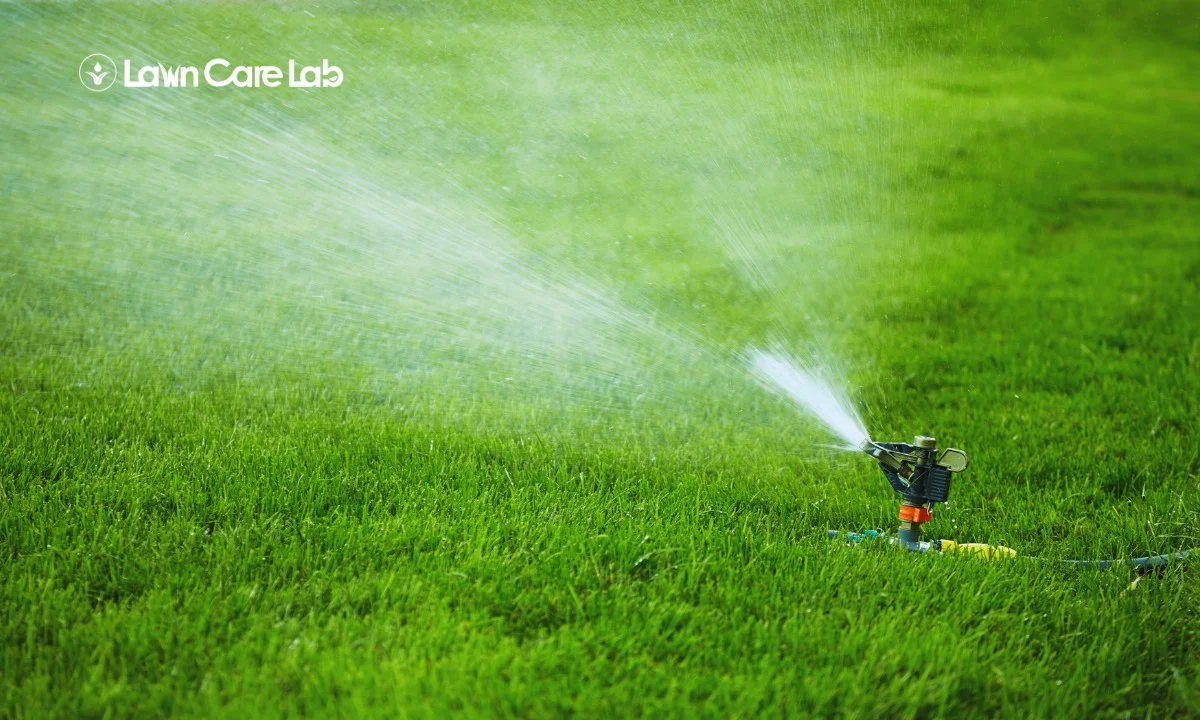
Test the System for Coverage
Check each zone of your in-ground sprinkler system for proper water distribution, adjust the flow, fix leaks, and scrutinize sprinkler heads for optimal performance.
Here’s a quick guide:
- Observe the range of each zone when turned on, ensuring that all areas of your lawn receive water.
- If some regions remain dry, tweak the angle or position of the sprinklers for better coverage.
- Watch for water accumulation or excessively damp areas that could signal a leak.
- Inspect sprinkler heads for blockages or damage. Tighten any loose ones for peak operation.
Make Adjustments as Needed
Adjust and fine-tune your homemade underground sprinkler system after the test run for maximum efficiency. Troubleshoot and replace any broken parts promptly.
Ensure your sprinkler system is economical and effective, then learn about winterizing and maintenance.
Winterize and Maintain the System
Take care of your DIY sprinkler setup during winter to prevent freezing and ensure smooth operation.
Here’s a quick rundown:
- Make sure you clear the lines before winter sets in to avoid freeze damage.
- Keep an eye out for debris in the sprinkler heads and clean them regularly for maximum performance.
- Check your system often for any wear and tear, and don’t hesitate to tighten or replace parts as needed.
Conclusion
Congrats! You’ve nailed the installation of your in-ground sprinkler system, showing the power of determination.
Just remember, your lawn can be the greenest one around. Keeping on top of maintenance will ensure it’s efficient and lasts longer, which saves you cash in the long term.
So, pat yourself on the back, savor your achievement, and prepare for the joy of a beautiful, thriving lawn that all your neighbors will be jealous of.
Frequently Asked Questions
What Are the Common Mistakes to Avoid When Installing a DIY In-Ground Sprinkler System?
How Much Can I Expect to Save by Installing an In-Ground Sprinkler System Myself?
How Do I Maintain My DIY In-Ground Sprinkler System to Ensure Its Longevity?
What Are Some Eco-Friendly Options for a DIY In-Ground Sprinkler System?
Can I Integrate a DIY In-Ground Sprinkler System With a Smart Home System?
- How to Create a Lawn Care Schedule for Southern Climates - October 30, 2024
- How to Use Compost Tea to Boost Lawn Growth and Soil Health - October 23, 2024
- The Best Grasses for Saltwater-Exposed Lawns: Coastal Lawn Care - October 17, 2024